
The scope for using variables within a Flare project has broadened with successive new releases of the product; we are now able to use variables not only within content (such as topics, snippets, master pages, and page layouts), but also within a variety of project files. For example, we could define and use a 'DocumentName' variable to specify the file name of our PDF output.
So variables are great — I'm sure you already knew that! However, what I had not realised until quite recently is that it is possible to use variables in a slightly different way within the XHTML source code of content files. This is an advanced technique that requires you to edit within the Text Editor tab (where the underlying XHTML code is exposed). However, it adds a very useful new way of using variables to control the visual aspects of content. For example, you can use variables to specify the class (style) of a paragraph, or the source file for an image, thus making it easy to change these items for different outputs by changing the definition of the variables.
Syntax for variables
When you insert variables into content using the XML Editor in the normal way, the resulting code is of the following form:
<MadCap:variable name="VariableSetName.VariableName" />
However, when you use variables to represent source XHTML code the syntax needs to be of this form:
[%=VariableSetName.VariableName%]
This is the same syntax that you may
already be familiar with in various fields
within the Flare interface. For example,
you are probably using [%=System.
LinkedTitle%] as the label for some or
all of your TOC entries, which links them
to the related topic title and causes
them to show in blue in the TOC Editor.
Putting it into practice
For the remainder of this article, I will focus on an example that illustrates the potential power of using variables in source XHTML code, and I’ll explain how to replicate the techniques within your own projects.
Switching source images
Suppose that you have two sets of screenshot images with the same file names in two different folders within your project. One folder contains the standard screenshots that most of your customers should see, and the other folder contains a bespoke set of screenshots that have been customised for a major individual customer.
One way to handle this situation would be to insert two images (standard and customised) whenever you add a screenshot, and apply conditions that enable you to include only the required screenshot in the output.
Using the Variables approach, however, we could insert a single image reference and use a variable as the folder name in the path to the image file (used within the src attribute of the img element). We could then set the definition of the variable to the appropriate folder name in each of our targets.
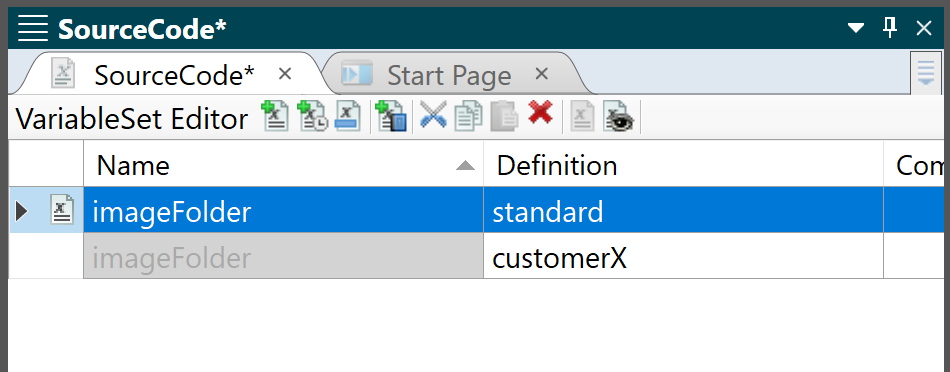
To do this, we would first need to create the variable that we will use for the folder name. I recommend creating a new variable set to contain all the variables we will use within source code. This variable set might be called 'SourceCode'. We can add into this a variable named 'imageFolder' and defined as 'standard' , and then add a new variable definition of 'customerX', resulting in the variable shown in the screenshot below.
We can then use this variable in the source code for our image references. The easiest way to do this is to insert the image from the standard folder in the normal way (perhaps by dragging it into the topic from the Content Explorer), and then replacing the folder name of 'standard' with our new variable by editing the code in the Text Editor tab. The resulting source code for one of the images might look like this:
<img src="Resources/Images/[%=SourceCode.imageFolder%]/screen1.png" alt="Main screen" />
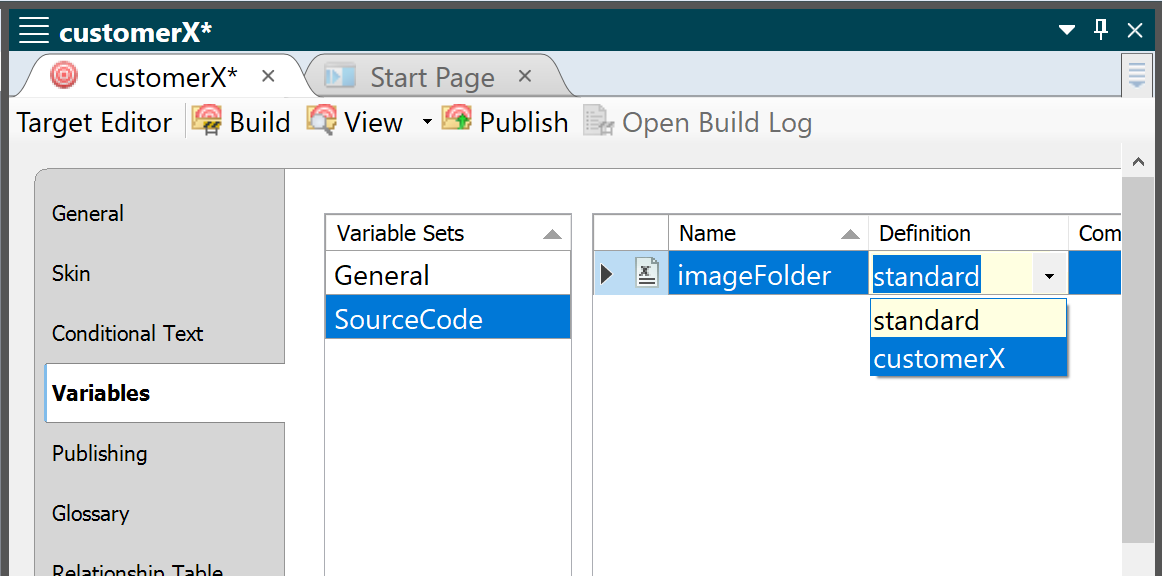
To change the image displayed in the output for the major customer, we would open the Customer X target, and (on the Variables tab) select the alternative definition 'customerX' for the imageFolder variable, as shown below.
A downside of this approach is that Flare's XML Editor does not recognise and process this variable correctly: when editing the topic, you will see a grey box containing the words "Missing file" where the image should be. You will need to preview the topic in order to see the standard version of the image. For that reason, you may be reluctant to use this technique, despite the fact that it avoids the need for conditions.
Chapter-specific formatting
You can extend the approach of using variables within XHTML code by incorporating Flare's system "chapnum" variable within class names. If you then define different classes within your style sheet, each incorporating a different number (1, 2, 3, 4, etc.) within the name, you can have chapter-specific formatting. For example, you could have a different background colour of the chapter heading for each chapter. Or, as I have done, you could have a tab containing the chapter name that changes position for each chapter within a decoration frame on the right-hand side of your Page Layout. In this case each of the numbered style classes would need to have a different margin setting. Do feel free to contact me if you would like more details on this technique.
Post script on Flare 2020 r2 and higher
On the subject of variables: since the release of Flare 2020 r2, you have been able to associate formatting with each of your variables (as long as they are used in the conventional way within content, and not within source code as described in this article). You can set up a default format that is inherited by all variables, and then override this for specific variables. For example, you could set all variables to show in bold font, and two specific variables also to have distinctive coloured backgrounds wherever you insert them. For more information on this feature, see Flare's Help on Styled Variables.
![]()
Training and Consulting in MadCap Flare
UA Europe provides specialist consulting and training (either face-to-face or via the Web) in MadCap Flare.